The gua sha technique aims to stimulate blood flow, release muscle tension, and promote the body’s natural healing processes.
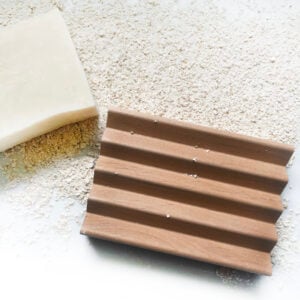
Formula Type: Super soft and smooth wood with fat edges
Suited to: All skin types
Why we love it:
Gua sha may help alleviate muscle pain and stiffness in various parts of the body. The scraping action can increase blood flow to the treated area, potentially reducing inflammation and swelling.
Gua sha can be used on the face to improve circulation, reduce puffiness, and potentially enhance skin elasticity.
It may also promote lymphatic drainage which can help reduce swelling and fluid buildup.
The technique can be relaxing and help to release muscle tension.
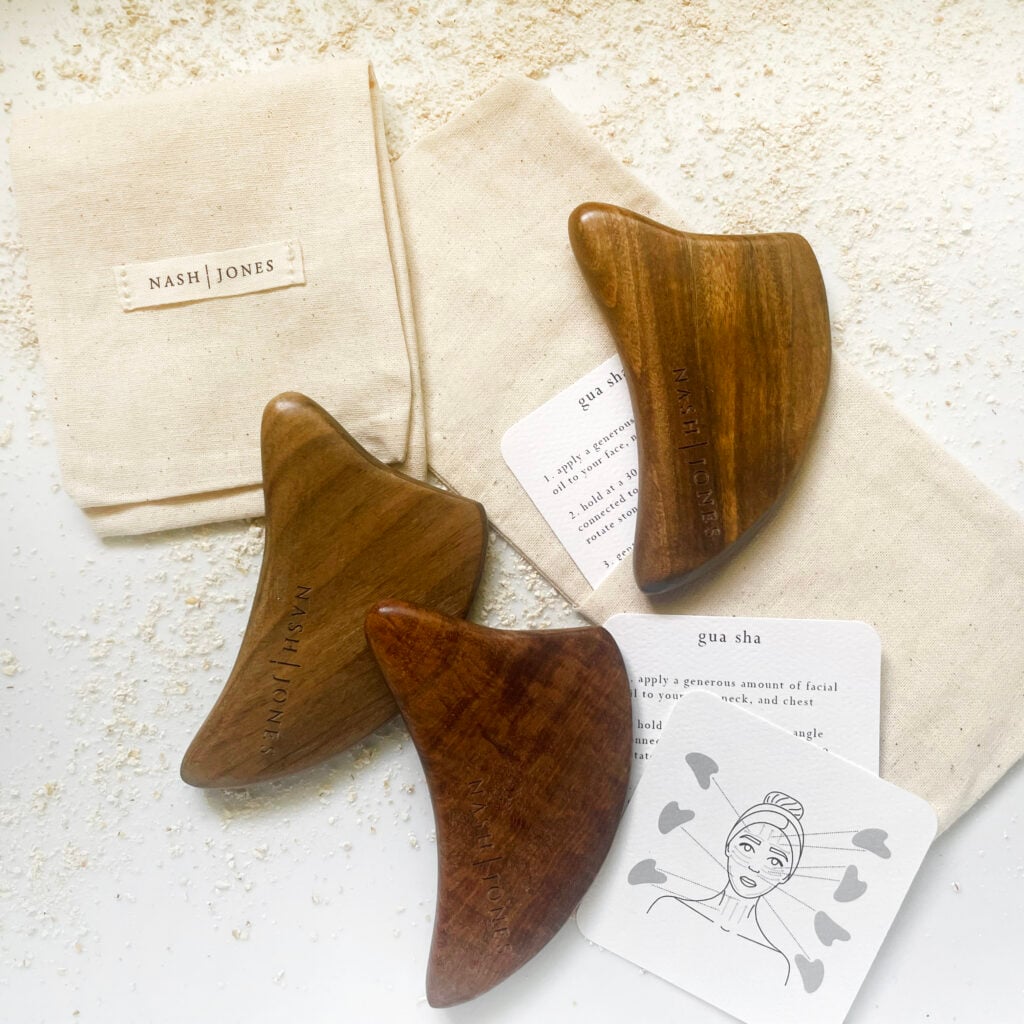
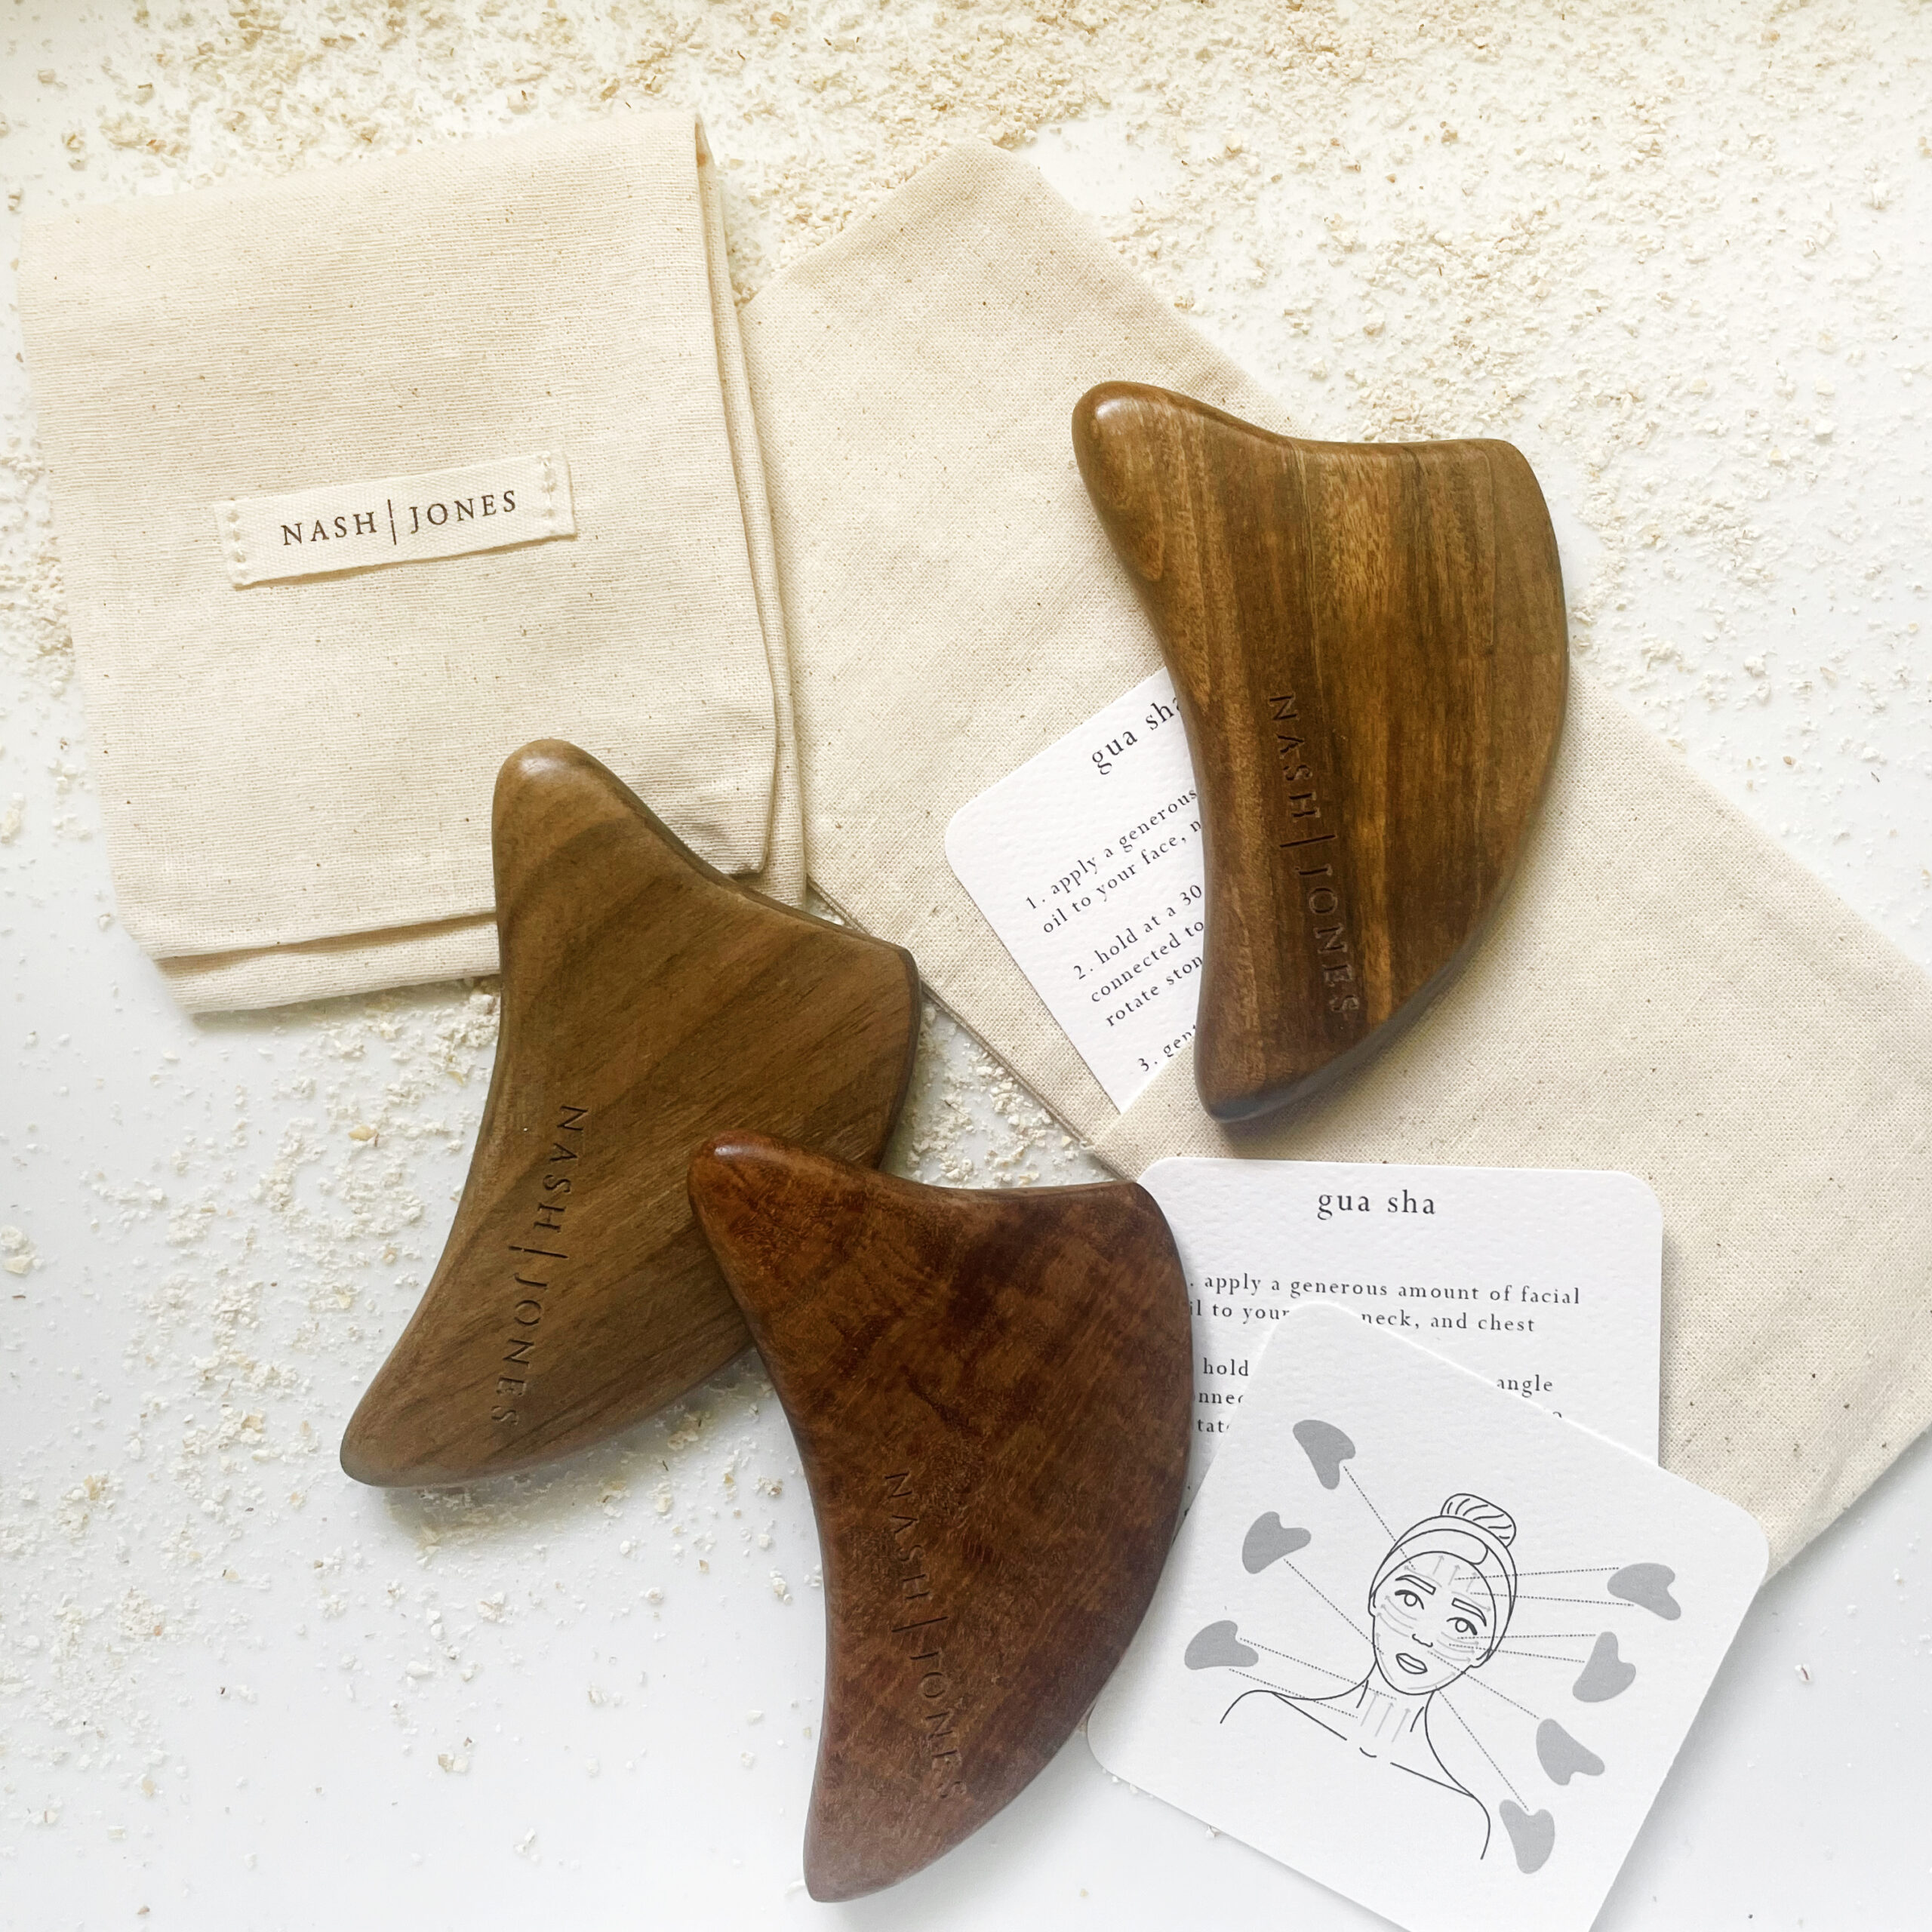
Includes one Gua Sha plus instruction card in a soft bag for storage
Apply a generous amount of face oil, serum, or a rich moisturizer. This prevents the gua sha from tugging or pulling on your skin.
Routine
Repeat each movement 3 to 5 times per section, using light pressure. Always move in upward and outward directions.
Neck: Start at the base of your collarbone and gently sweep the long edge of the tool upward toward your jawline and earlobe. Finish with a light stroke down the side of the neck to aid drainage.
Jawline: Place the notched or heart-shaped edge of the tool at the center of your chin. Glide it along your jawline outward toward your earlobe, supporting the skin with your other hand.
Cheeks: Use the flat, long side of the tool. Start next to your nose and gently glide it across your cheekbone outward toward your hairline or temple.
Under Eyes: Use the small rounded tip or corner and place it gently near the inner corner of your eye and sweep outward toward your temple with very light pressure.
Brows and Forehead: Place the tool between your eyebrows or above your brow bone and glide it upward toward your hairline. Then, move to the center of your forehead and sweep outward toward the temples.
Tips
Keep it flat: Never press the sharp edge directly into your skin. Hold the tool almost flat against your face (at a small angle).
Use light pressure: Your skin should turn slightly pink from increased blood flow, but it should never hurt.